install rheem electric tankless water heater
A tankless water heater is a popular choice for homeowners who want to save energy and have a continuous supply of hot water. Unlike traditional water heaters that store and heat a specific amount of water, tankless water heaters heat water on demand, thereby eliminating the need for a storage tank. In this post, we will discuss the importance of proper venting for a tankless water heater and provide step-by-step instructions for installing a Rheem electric tankless water heater.
Venting Your Tankless Water Heater Through the Roof
Proper venting is crucial for the efficient and safe operation of a tankless water heater. Venting allows for the removal of combustion byproducts and ensures that the heater operates at its optimum efficiency. Additionally, proper venting prevents the buildup of dangerous gases, such as carbon monoxide, inside your home.

When venting a tankless water heater through the roof, it is essential to follow the manufacturer's instructions and local building codes. Here are the general steps involved in this process:
- Start by locating a suitable spot for the vent exit on your roof. Ideally, it should be away from windows and any HVAC intake vents.
- Using a reciprocating saw, cut a hole in the roof that corresponds to the diameter of the vent pipe.
- Attach a roof flashing around the hole. This flashing will provide a weatherproof seal and prevent leaks.
- Connect the vent pipe to the water heater. Make sure to use high-quality venting material recommended by the manufacturer.
- Extend the vent pipe through the hole in the roof and secure it using appropriate brackets or supports.
- Install a termination cap on the end of the vent pipe. This cap prevents rainwater or debris from entering the vent and obstructing airflow.
It is crucial to remember that each installation may have specific requirements, and it is best to consult the manufacturer's instructions or hire a professional to ensure a safe and efficient installation of your tankless water heater venting system.
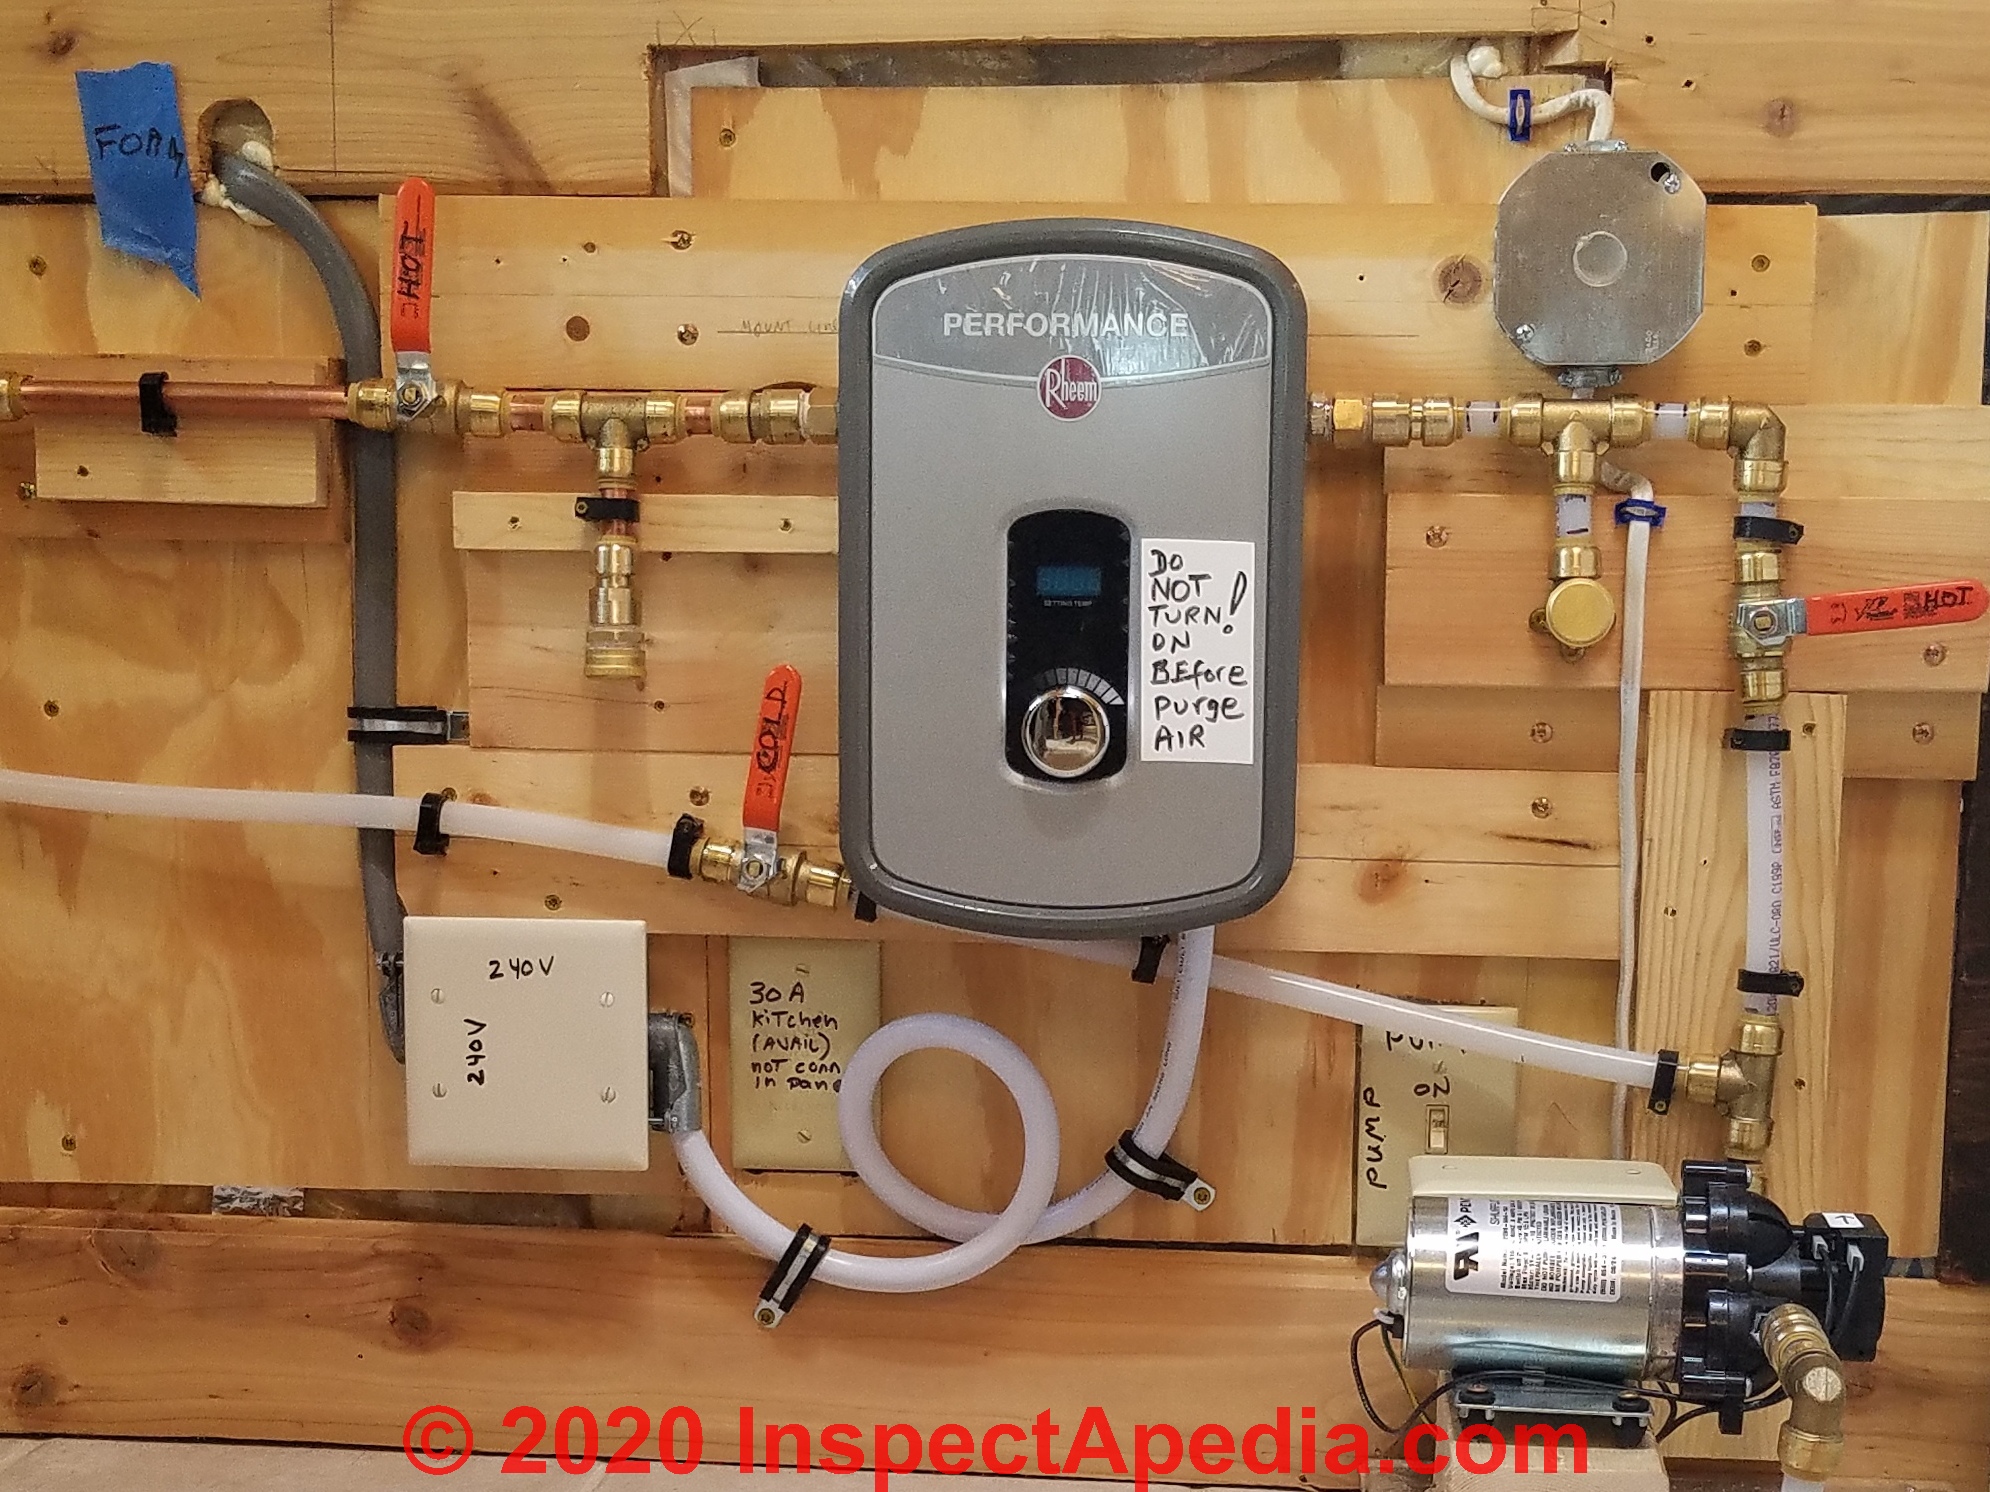
How to Install a Rheem Electric Tankless Water Heater?
Rheem is a reputable brand that offers a range of electric tankless water heaters known for their reliability and energy efficiency. Installing a Rheem electric tankless water heater is a relatively straightforward process that can be completed by following these steps:
1. Choose a Suitable Location:
Select a location for your Rheem electric tankless water heater that allows for easy access, meets the clearance requirements specified in the installation manual, and provides adequate ventilation.
2. Turn Off Power and Water Supply:
Before starting the installation, turn off the power supply to the area where you will be working and shut off the water supply to the existing water heater.
3. Remove the Existing Water Heater:
Disconnect the plumbing connections and electrical wiring of the old water heater and remove it from its location if necessary.
4. Mount the Rheem Water Heater:
Using the supplied mounting bracket, securely fasten the Rheem water heater to the wall. Make sure it is level and stable.
5. Connect the Water Lines:
Attach the hot and cold water supply lines to the corresponding fittings on the Rheem water heater using appropriately sized connectors or unions. Ensure tight connections to prevent leaks.
6. Install the Service Valve:
Install a service valve on the cold water supply line to the water heater. This valve allows for easy maintenance and future servicing of the unit.
7. Connect the Electrical Wiring:
Refer to the provided wiring diagram and carefully connect the electrical wires to the Rheem water heater. If you are not confident in your electrical skills, it is recommended to hire a licensed electrician.
8. Test for Leaks:
Turn on the water supply and check for any leaks in the connections. Tighten any fittings or connections if necessary.
9. Restore Power:
Once you have confirmed that there are no leaks, restore the power supply to the area, and turn on the Rheem electric tankless water heater.
Congratulations! You have successfully installed a Rheem electric tankless water heater. It is important to refer to the manufacturer's instructions and follow all safety guidelines to ensure proper installation and operation of the unit.
In conclusion, venting is a crucial aspect of installing a tankless water heater to ensure safe and efficient operation. When installing a Rheem electric tankless water heater, following the manufacturer's instructions and local building codes is essential. By carefully completing each step of the installation process, you can enjoy the benefits of endless hot water and energy savings provided by a tankless water heater.